Building a cutting-edge WebRTC Video conferencing app in one hour !
- centedge

- Jun 23, 2021
- 6 min read
Updated: Jun 24, 2021

Building a WebRTC powered videoconferencing app is really cool and one can use it for multiple purposes including showing off to friends! The real challenge lies in understanding the complexities involved in WebRTC and then successfully dealing with it to build an app. Though it is not necessary to understand all the complexities from the beginning to build the app and one can gradually learn the concepts as one progresses with usage of WebRTC. While working with WebRTC for a couple of years now, we thought of coming up with something to help others build cutting edge video conferencing apps from scratch within an hour. We finally were able to build a npm module a couple of days ago for that same purpose. This blog post is going to provide a practical walk through on how to use that npm module to build a cutting edge video conferencing app from scratch Or integrate it to an existing app within an hour.
The npm module is a pre-baked reactjs ui component consisting of 2 pages, one for pre-call audio / video check and another for the video conferencing room itself. As it is a react component, one can easily integrate it to any existing react project to enable the app with cutting edge video conferencing capabilities. We are going to create a simple react app from scratch using create-react-app for the sake of simplicity and ease of implementation. But feel free to use the same code as mentioned below to use it in a more complex, existing react project. In order to follow this post, one needs a basic understanding of JavaScript and Reactjs. Lets begin!
If you are somebody who likes to do a git clone first and then go through this post, then here is the github link for you to download the source code and run it in your local system.
Before beginning, do keep in mind that you DON'T need a Credit card OR an API key/secret combo OR even a Signup at Centedge to run this app. You simply need to follow this tutorial and build your app. No strings attached !!
Before starting to build our app, we need to have node and npm install in our computer to follow through this post. If you don't have those installed yet, please visit this link to download and install nodejs and npm for your OS. If you are on a Linux flavour like Ubuntu, then visit this link.
Once you have node and npm installed on your system, you are ready to create the app. Use this to create a new react app.
mkdir react-demo
cd react-demo
npx create-react-app <name-of-your-app> //Ex. react-videoconf-demo
The above commands will create a folder called react-demo in the current directory and create a sample react app named react-videoconf-demo (if you have chosen the example app name as your app name) inside that folder. You can run the default app to view it in the browser by following the steps mentioned in the output of the above mentioned command or by following these mentioned below.
cd <name-of-your-app>
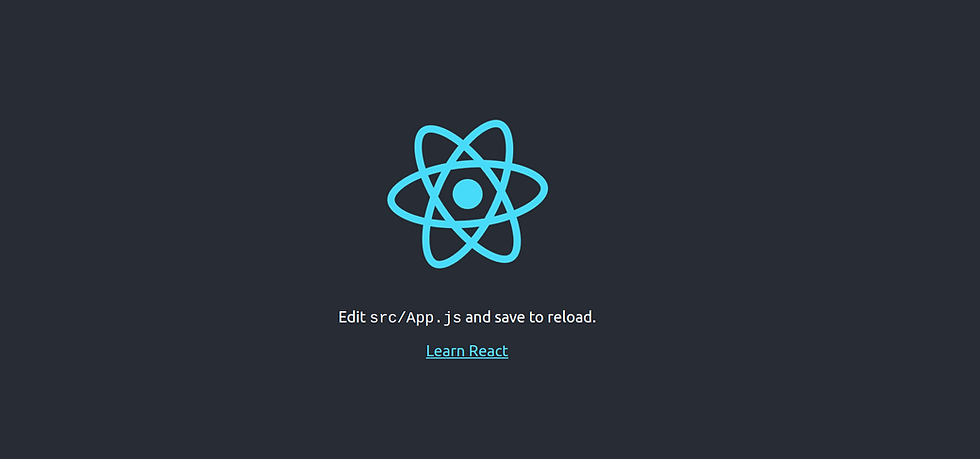
npm start After this you should see the below output in your browser, if everything is fine until now. If you are not getting this output or you are facing some issue starting the sample application, you may not have installed node and npm properly! Please reinstall them and start from scratch again by following the above mentioned steps. If you got this output, please proceed ahead.
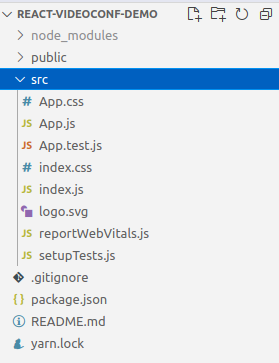
The sample react app project structure should look like as mentioned below. You may not have the yarn.lock file if you are using npm. Instead you will have package-lock.json and this is okay.
Now we are ready to make changes to our sample app and start integrating the necessary components to build our cutting-edge video conferencing app.
The default app.js file looks like as shown below which we are going to change soon.
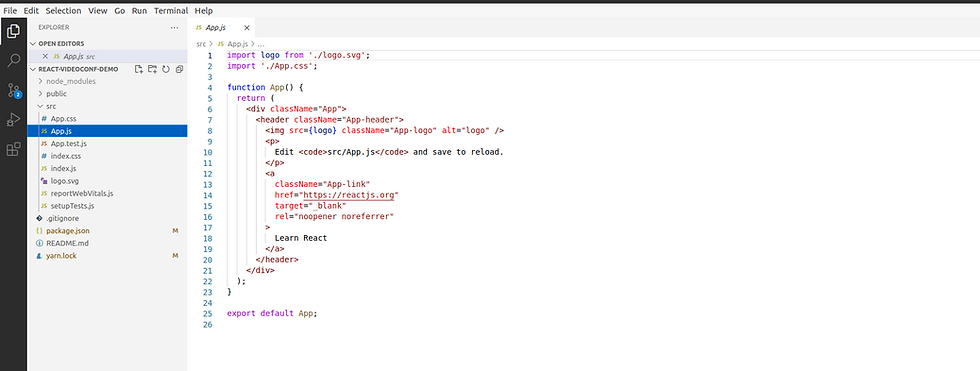
Now replace everything from this file with the code mentioned below.
import React from 'react';
import { BrowserRouter, Route, Switch } from "react-router-dom";
import AdminComponent from './components/AdminComponent';
import UserComponent from './components/UserComponent';
import LandingComponent from './components/LandingComponent';
import './App.css';

function App() {

 return (
 <BrowserRouter>
 <div className="App">

 <Switch>
 <Route path="/" component={LandingComponent} exact />
 <Route path="/admin" component={AdminComponent} exact />
 <Route path="/user" component={UserComponent} exact />
 </Switch>

 </div>
 </BrowserRouter>
  );
}

export default App;
This is what we are trying to achieve with the above code block.
Using react-router to load 3 separate components named Landing, admin and user using 3 separate URLs
All the components are defined in a folder named components inside src from which we are importing them to use in the App component.
We are importing the default css file to load some styles.
The next lines are the syntax to load those 3 different components in 3 separate unique URLs including 1 default landing URL.
You also need to install the react router npm package named react-router-dom to run the app. You can install the same using the below one liner.
npm install react-router-domBelow are the individual components imported in the app.js file.
LandingComponent.jsx
import React from 'react';
import { useHistory } from "react-router-dom";

 const LandingComponent = () =>{
 const history = useHistory();
 return(
 <div>
 <h1>Hello, My App!</h1>
 <button onClick={()=>{history.push('/admin')}}>Join as Admin</button>
 <button onClick={()=>{history.push('/user')}}>Join as User</button>

 </div>

     )
 }
export default LandingComponent;
AdminComponent.jsx
import React from 'react';

 const AdminComponent = () =>{

 return(
 <div>
 <h1> hello, Admin !</h1>
 </div>

     )
 }
export default AdminComponent;
UserComponent.jsx
import React from 'react';
const UserComponent = () =>{
return(
<div>
<h1> hello, user !</h1>
</div>
)
}
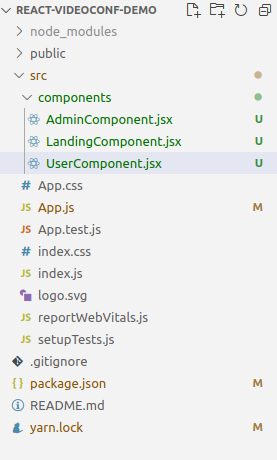
export default UserComponent;Now, the folder structure should look like as below.
If you have followed the tutorial correctly until now, you should get the below output in the landing page when you run the app.
The URL is http://localhost:3000/

This is what you will get when you click the " Join as Admin" button.
The URL is now changed to http://localhost:3000/admin

This is what you will get when you click the " Join as User" button.
The URL is now changed to http://localhost:3000/user

If you haven't got the above mentioned output in your app, please recheck the previous steps. You may have missed something important! If you got the desired output, you are ready to proceed.
Now that the skeleton is ready for building our video conferencing app, we need to install the necessary packages to make it happen. The most important package to make it happen is named cvr-rui. You need to download this package using the below mentioned command.
npm install cvr-ruiOne it is installed, replace the content of AdminComponent with the below code.
import React from 'react';
import ParticipantPage from 'cvr-rui';

 const AdminComponent = () =>{
 const callEnded = () =>{
 console.log('hey, the call has been ended!!');

    }
 const callStarted = () =>{
 console.log('hey, the call has been started!!');

    }
 const webVideoConfig = {
 theme:'light',
 joinButtonColor:'secondary',
 roomName:'my-1st-video-room',
 userName:'admin-user',
 participantType:'moderator',
 adminApprovalRequiredToJoinRoom:false,
 screenSharing:true,
 chatOption:true,
 callStartFunction:callStarted,
 callEndFunction:callEnded,
      }

 return(
 <div>
 <ParticipantPage config={webVideoConfig} />
 </div>

     )
 }
export default AdminComponent;
Also replace the UserComponent code with the below code.
import React from 'react';
import ParticipantPage from 'cvr-rui';

 const UserComponent = () =>{
 const callEnded = () =>{
 console.log('hey, the call has been ended!!');
    }
 const callStarted = () =>{
 console.log('hey, the call has been started!!');
    }
 const webVideoConfig = {
 theme:'dark',
 joinButtonColor:'primary',
 roomName:'my-1st-video-room',
 userName:'regular-user',
 participantType:'',
 screenSharing:true,
 chatOption:true,
 callStartFunction:callStarted,
 callEndFunction:callEnded,
      }


 return(
 <div>
 <ParticipantPage config={webVideoConfig} />
 </div>

     )
 }
export default UserComponent;
If you have followed the post properly until now,you will get a result as below when you try to load the AdminComponent by clicking on the Join as Admin button in your landing page

and the UserComponent by clicking on the the Join as User button in your landing page.

Now is the time to click the join room button in both the pages. Once you click the Join Room buttons, the magic happens as shown below.
When only admin user joined the room

when regular user also joined the room

Admin view after regular user joined the room
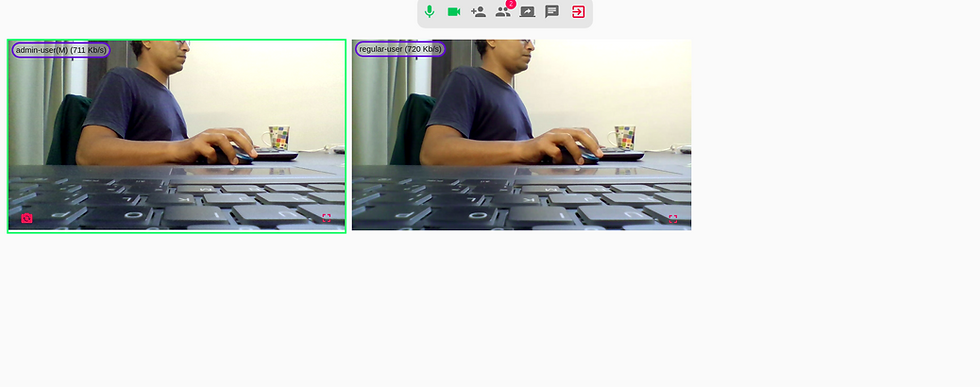
Now we have successfully created a cutting edge video conferencing app with active speaker detection and real time bandwidth monitoring and display enabled by default.
You can also easily integrate it into any existing react project to enable it with cutting edge video conferencing capabilities. Please feel free to drop us an email at hello@centedge.io in case of any issue while trying to follow this post or in case of a bug in the npm package.
The link to the npm package is here.
The link to the Centedge app running a very similar UI is here.
Note
This react ui is running with the help of a small scale video back-end infrastructure sponsored by Centedge along with some generosity from AWS. That's why you don't need a Credit card OR an API key / secret combo OR even a Signup at Centedge to run this app! As this is a small scale setup, we don't advise anybody to build production grade video applications using this npm package which internally depends on infrastructure from Centedge. The back-end setup currently can handle 6 participants in one room including moderator and can handle 5 such rooms simultaneously! Please feel free to play around and tinker around using this package. If you want to build something serious using this and need more number of rooms or more number of participants in each room, feel free to drop us an email at hello@centedge.io and we will be happy to create a production grade infrastructure setup for you.


Comments